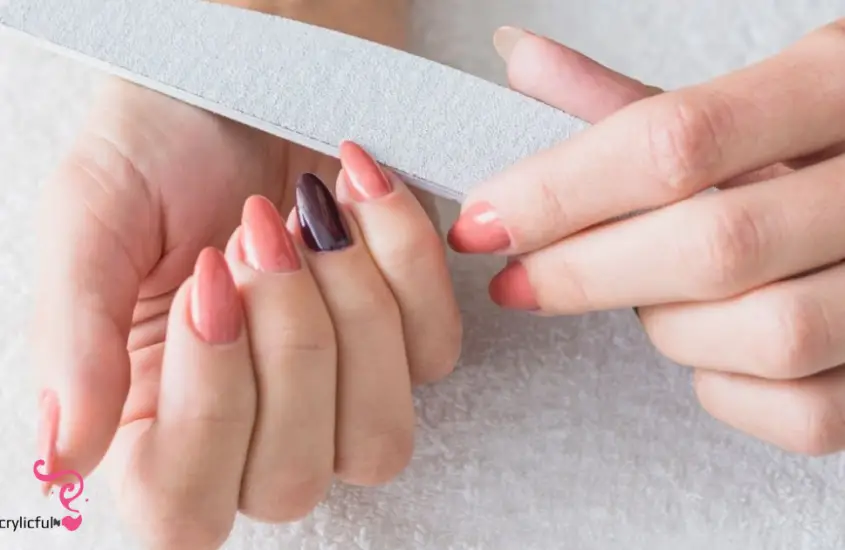
How to File Acrylic Nails After Getting Them Done?

Congratulations on getting such beautiful acrylic nails! Now that you’ve taken the first step toward fabulous nails, it’s critical to understand how to file acrylic nails after getting them done? in order to ensure their longevity and beauty. Learning how to file acrylic nails correctly is an important aspect of post-acrylic nail care. Filing acrylic nails may appear daunting, but with the right technique and tools, you can easily maintain their beautiful appearance while keeping your natural nails healthy.
We’ll walk you through the step-by-step process of filing acrylic nails after they’ve been done in this comprehensive guide. We’ll go over the significance of proper filing, the tools you’ll need, and the dos and don’ts of post-filing nail care. By the end of this guide, you’ll have gained the knowledge and skills necessary to confidently care for your acrylic nails at home, ensuring that they continue to dazzle and impress.
So, let’s dive into the world of acrylic nail maintenance and learn how to master the art of filing for nails that shine with beauty and radiate with health.
I. Why Filing Acrylic Nails is Important
Filing acrylic nails is an important step in keeping them beautiful and healthy. Whether you go for a classic French manicure or a trendy nail art design, filing is essential for keeping your nails looking perfect. Here are some of the benefits of filing acrylic nails:
1. Smooth Edges for a Polished Look
There may be minor unevenness or rough edges after the acrylic application. Filing gives your nails a smooth and polished appearance, making them look professionally done.
2. Customized Nail Shape
Acrylic nails can be shaped to suit your personal taste and style. The filing allows you to achieve the desired nail shape, whether square, oval, almond or something completely different.
3. Prevents breakage
Nail breakage and snags can occur as a result of rough or jagged edges. Filing your acrylic nails reduces the likelihood of them catching on objects and breaking, allowing them to remain strong and intact.
4. Maintains Nail Hygiene
Filing your nails on a regular basis prevents dirt, grime, and bacteria from accumulating around the edges. This is critical for maintaining good nail hygiene and avoiding infections.
5. Improves Longevity
Proper filing extends the life of your acrylic nails. Maintaining their shape and smoothness allows you to go longer between salon visits, saving you both time and money.
Filing acrylic nails, in essence, not only improves their appearance but also promotes nail health and durability. It’s a necessary practice that should be incorporated into your regular nail care routine to keep your acrylic nails looking beautiful and in good condition.
II. Step-by-Step Guide to Filing Acrylic Nails
1. Gather Your Materials:
Make sure you have a nail file, buffer, cuticle oil, and a clean cloth on hand before you begin.
2. Soften The edges:
Apply cuticle oil to the acrylic nails’ edges. This softens the edges and makes them easier to file.
3. Start filing
File the edges of your acrylic nails with a gentle back-and-forth motion. To avoid damage, avoid filing too aggressively.
4. Shape and smoothness
To achieve the desired shape, file the tips of your nails. Smooth any rough edges with a softer touch.
5. Shine and buff
To achieve a smooth finish, gently buff the surface of the acrylic nails. This improves the luster of your nails.
6. Hydration is Key
Massage cuticle oil into your cuticles and nails generously. Hydrated nails are less likely to break.
III. Dos and Don’ts After Filing Acrylic Nails:
Following the perfection of your acrylic nails, it is critical to follow certain dos and don’ts to maintain their beauty and health. Here’s a quick guide to maximizing your post-filing nail care:
Dos:
1. Moisturize on a regular basis:
Hydrated nails are less likely to break. To keep your acrylic and natural nails moisturized, use cuticle oil or a nourishing hand cream on a daily basis.
2. Use a Non-Acetone Polish Remover:
When switching out nail polish colors, use a non-acetone polish remover. Acrylic nails can be weakened over time by acetone-based removers.
3. Be Gentle:
Take special care of your acrylic nails. They should not be used as tools to open cans or packages, as this can cause chipping or breakage.
Don’ts:
1. Over-File:
While filing is necessary, avoid going overboard. Excessive filing can weaken your nails and thin out the acrylic, making them more prone to damage.
2. Use Metal Files:
Metal files are too abrasive for acrylic nails and can cause unnecessary damage. Use gentle, fine-grit files made specifically for acrylic nails.
3. Neglect Cuticle Care:
Do not neglect your cuticles. Applying cuticle oil on a regular basis and gently pushing back your cuticles promotes healthy nail growth.
By following these dos and don’ts, you can ensure that your acrylic nails not only look great but also stay strong and healthy. Proper post-filing care is essential if you want to enjoy your beautiful acrylic nails for weeks.
CONCLUSION
Finally, mastering the art of filing acrylic nails after they have been done is a necessary skill for both nail care enthusiasts and those seeking long-lasting beauty. You can keep the elegance and health of your acrylic nails by following the step-by-step guide and following the dos and don’ts outlined in this article. Remember that a gentle touch and consistent hydration are essential for keeping your nails looking beautiful and strong. So take care of your nails and enjoy the beauty and confidence that comes with perfectly filed acrylic nails.


Comments
Trackbacks & Pingbacks
[…] can easily shorten your acrylic nails at home and keep them looking fabulous with a little help and some simple tools. How to shorten acrylic nails at home? We’ll take you step-by-step through the procedure in […]