How to Treat a Broken Nail Under Acrylic?
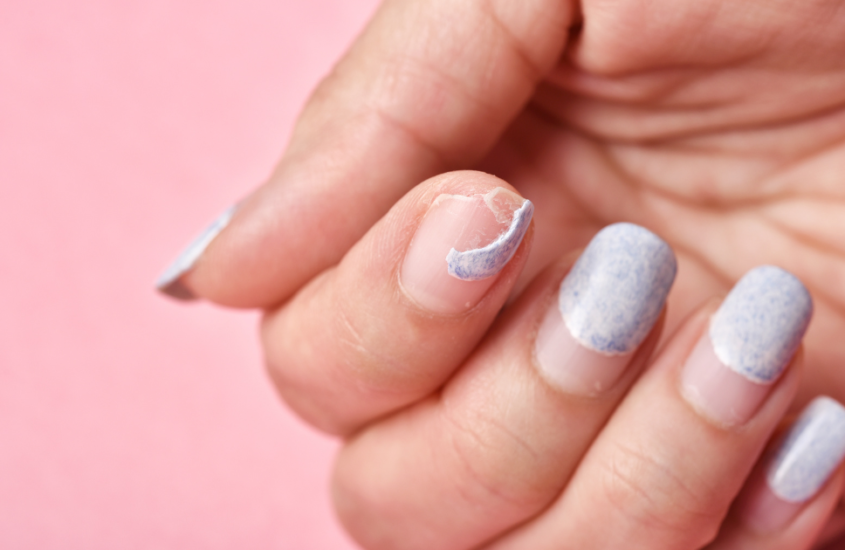
Acrylic nails are a popular option for a long-lasting manicure. Accidents do happen, and a broken nail under acrylic can be both unsightly and painful. It is critical to understand how to treat a broken nail under acrylic in this situation if you want to keep your natural nails healthy and beautiful. We will walk you through the step-by-step process of safely addressing a broken nail under acrylic, including safe removal, repair techniques, and preventive measures to keep your nails looking their best, in this comprehensive guide. With our expert advice, you can confidently restore your acrylic nails while protecting your natural nails. Let’s begin the journey to beautiful, healthy nails!
I. Identifying a Broken Nail:
Before beginning any treatment, you must first determine whether or not you have a broken nail. Look for visible cracks or splits in the nail, as well as sudden pain or sensitivity in the affected area and any bleeding around the nail bed. Check for tenderness or discomfort by gently touching the nail. If you notice any of these symptoms, you most likely have a broken nail that needs to be repaired.
To be sure, examine the nail closely in good lighting. A broken nail may have a visible separation or gap in the nail plate, as well as appear uneven or jagged. In some cases, the nail may have completely broken, leaving a portion of it missing or detached.
Remember, it’s essential to address a broken nail promptly to prevent further damage and to start the healing process as soon as possible.
II. Removing Acrylic Safely:
To treat the broken nail, gently remove the acrylics. Avoid ripping or peeling them off as this can cause additional damage. Instead, take the following steps for safe removal:
- Soak the acrylic nails in nail polish remover with acetone.
- Remove the softened acrylic with a soft nail buffer. Be patient and avoid using too much force.
After removing the acrylic, thoroughly clean and dry your nails.
III. Treating the Broken Nail Under Acrylic:
Once you’ve identified the broken nail, you must act quickly to treat it properly. Here’s a step-by-step guide for treating a broken acrylic nail:
Step 1: Trim the Nail (If Required)
If the broken nail has jagged or uneven edges, use sanitized nail clippers to carefully trim them. To avoid causing additional damage to the nail, be gentle.
Step 2: Scrub the Area
Clean the broken nail and the surrounding area with mild soap and water before proceeding with any repair. To ensure a clean surface for the next steps, pat it dry with a soft towel.
Step 3: Nail Bonding (For Clean Breaks)
If the nail has broken cleanly into two pieces, you can bond them back together with a nail adhesive or clear nail glue. Apply a dab of glue to one side of the break and firmly press the nail together. Hold it in place for a minute or two to allow the glue to completely dry.
Step 4: Use a Nail Repair Product
Apply a nail repair product designed specifically for treating broken nails for added strength and support. These products frequently contain keratin and other strengthening agents. Follow the product directions and apply it to the repaired area.
Step 5: Apply a Barrier Layer
Apply a clear nail hardener or a strengthening top coat to protect the treated nail and prevent further damage. This will act as an extra barrier, allowing the nail to heal without further splitting.
Step 6: Stay away from harsh chemicals.
Avoid using harsh chemicals, such as acetone or strong nail polish removers, while your nail is healing. Choose gentle nail care products and avoid activities that could put too much pressure on the treated nail.
7th Step: Moisturize Regularly
It is critical to keep your nails and cuticles moisturized for overall nail health. To keep your hands hydrated, use a nourishing cuticle oil or hand cream on a regular basis.
Step 8: Be Gentle and Patient
Remember that a broken nail takes time to heal completely. Be patient and avoid using too much force on the treated nail during daily activities.
You can effectively treat a broken nail under acrylic and promote healing by following these steps. However, if the break is severe or causing significant discomfort, seek professional advice from a nail technician or a dermatologist to ensure your nails receive the best possible care.
IV. Restoring the Acrylic Nail:
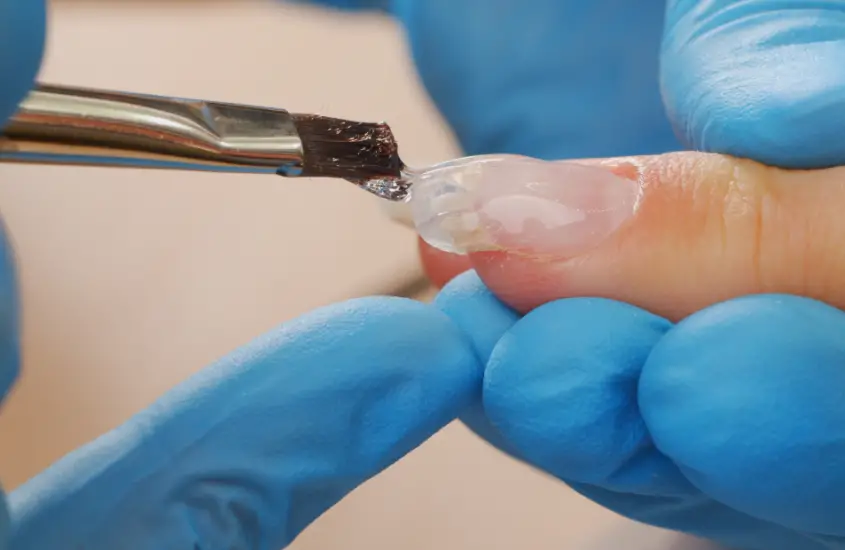
After treating the broken nail, you can reapply the acrylics. However, wait for your natural nail to heal before doing so. To restore the acrylic nail, follow these steps:
- On the natural nail surface, apply a thin layer of primer or bonding agent.
- Place the acrylic nail tip gently over your natural nail and press firmly.
- Trim and shape the acrylic nail to the length and style you desire.
- Follow the manufacturer’s instructions when applying the acrylic powder and liquid.
- Apply a top coat for a glossy, long-lasting finish.
V. Preventive Measures for Healthy Nails:
Prevention is essential for keeping natural nails healthy, especially when wearing acrylics. Here are some important precautions to take to protect your nails and avoid future breakages:
1. Maintain a Manageable Nail Length:
Trim your nails on a regular basis to a length that is comfortable for you and does not put too much pressure on the tips. Long nails should be avoided because they are more prone to breaking.
2. Avoid Using Your Nails as Tools:
Resist the urge to use your nails to open cans or peel off stickers. Using your nails as a tool can cause damage and weakening.
3. Moisturize Nails and Cuticles:
Hydrated nails are less likely to become brittle and break. To keep your nails and cuticles nourished, use a moisturizing cuticle oil or cream on a regular basis.
4. Consider Biotin Supplements:
Biotin, a B-vitamin, has been shown to promote healthy nail growth. Consult with your doctor to see if taking biotin supplements is right for you.
5. Incorporate Nail Strengthening Products:
Include nail strengthening products in your nail care routine. Look for nail hardeners or strengtheners that contain calcium and vitamin E.
6. Be Gentle When Filing or Buffing Your Nails:
When filing or buffing your nails, use gentle and controlled motions. Avoid using abrasive filing because it can weaken the nails.
7. Protect Your Nails While Doing Household Chores:
Wear gloves when doing housework or gardening to protect your nails from harsh chemicals and detergents.
8. Choose High-Quality Acrylic Products:
If you wear acrylic nails on a regular basis, invest in high-quality products and services from reputable nail salons. Professional application and removal can reduce the risk of nail damage.
9. Take Acrylic Breaks:
Give your nails a break from acrylics by going without them on occasion. Allowing your natural nails to breathe can aid in the preservation of their health and strength.
10. Maintain Nail Health:
Keep an eye out for any changes in the appearance of your nails, as well as any signs of damage. Early detection of problems can aid in preventing them from worsening.
You can enjoy the beauty of acrylic nails while ensuring the long-term health and strength of your natural nails by incorporating these preventive measures into your nail care routine. Remember that strong nails are the foundation of a beautiful manicure!
Conclusion:
Treating a broken nail with acrylic requires patience and care. You can protect the health and longevity of your natural nails while enjoying the beauty of acrylics by following the proper removal, treatment, and restoration procedures. Remember to take preventive measures to keep your nails in good condition and to seek professional help if necessary. Now you can confidently show off your fabulous acrylic nails!


