How to Take Off Acrylic Nails With Vinegar – A Gentle and Effective DIY Approach
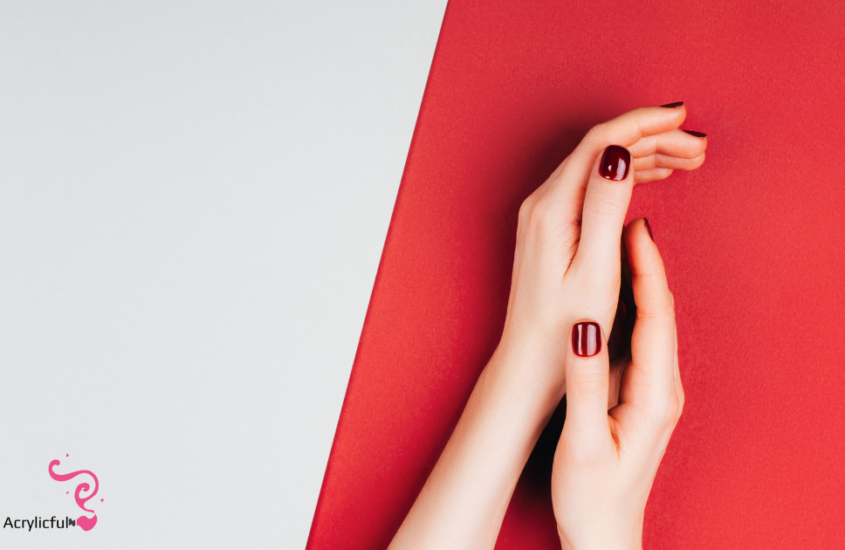
Are you ready to bid farewell to your acrylic nails and embrace the natural beauty of your own nails? Say goodbye to the expense and hassle of salon visits by learning how to take off acrylic nails with vinegar. In this guide, we’ll walk you through a simple and safe step-by-step process to achieve stunning results from the comfort of your own home.
Why Choose Vinegar?
Vinegar, a kitchen staple with numerous applications, comes in handy when it comes to removing acrylic nails. Vinegar, unlike harsh acetone, is gentle on your nails and surrounding skin. It’s a safe, natural option that won’t harm your nail bed or cause irritation. It’s also simple to use and inexpensive.
Step 1: Gather Your Supplies
Before you embark on your acrylic nail removal journey, gather these essential supplies:
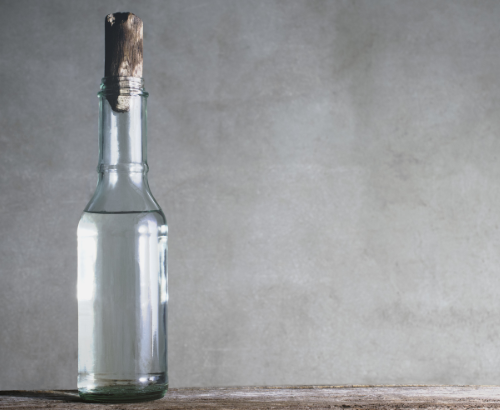
- White vinegar
- Nail clippers
- Nail buffer or file
- Cuticle oil
- Warm water
- Towel
- Cotton balls or cotton pads
- Aluminum foil
- Orange stick or cuticle pusher
Step 2: Trim and Buff
Begin by trimming your acrylic nails as short as possible with nail clippers. Take care not to cut your natural nails. After you’ve trimmed the acrylics, buff the top layer of the nails gently to break the seal and remove the shine. This will aid the vinegar’s penetration of the acrylic.
Step 3: Construct Your Soaking Solution
In a mixing bowl, combine equal parts warm water and white vinegar. Warm water softens the acrylic, while vinegar aids in the breakdown of the adhesive. Soak your nails for about 15-20 minutes in this solution. Use this time to unwind and relax!
Step 4: Start the Removal Procedure
After soaking, remove one hand and wrap a cotton ball soaked in vinegar around each nail. Wrap aluminum foil around your fingertip to keep the cotton ball in place. Before moving on to the other hand, repeat this process for all fingers on one hand.
Step 5: Allow the Vinegar to Work Its Magic
Allow the wrapped nails to rest for approximately 15-20 minutes. The vinegar will soften the acrylic and loosen its bond with your natural nails during this time. While you wait, you could watch your favorite show or read a few chapters of a book!
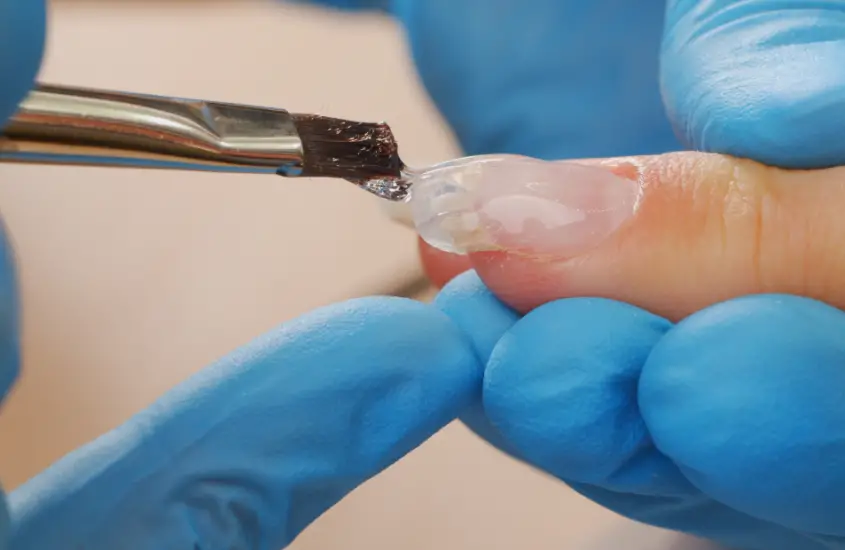
Step 6: Gently peel away the acrylic.
Remove the foil and cotton ball from one finger after soaking. Using an orange stick or cuticle pusher, gently push the softened acrylic off. To avoid damaging your natural nails, be patient and avoid applying excessive pressure. If the acrylic won’t come off easily, re-wrap and wait a few minutes more.
Step 7: Feed Your Nails
After you’ve removed all of the acrylic nails, it’s time to pamper your natural nails. File away any remaining residue and shape your nails to the length you desire. To nourish your nail bed and surrounding skin, apply cuticle oil. Massage the oil into your nails to promote healthy nail growth and add a touch of luxury to your routine.
Step 8: Hydrate and moisturize your skin.
To remove any remaining vinegar scent, wash your hands with a gentle soap and warm water. After drying your hands with a towel, apply a rich hand cream or moisturizer. This step replenishes moisture and leaves your hands soft and revitalized.
Accept Your Natural Beauty
Congratulations! You’ve mastered the art of removing acrylic nails with vinegar. You’ve not only saved time and money by using this simple DIY method, but you’ve also taken good care of your nails. Remember that patience is essential throughout the process to keep your natural nails healthy and strong.
So, go ahead and show off your stunning natural nails with confidence. Embrace your individual style and revel in the freedom of doing your own nails, all while knowing you have a safe and effective solution at your disposal.
Conclusion
Removing acrylic nails at home does not have to be difficult. You can achieve stunning results with vinegar as your gentle and effective ally without jeopardizing the health of your natural nails. You’ll be well on your way to embracing your natural beauty in no time if you follow this step-by-step guide. So gather your supplies, schedule some pampering time, and say goodbye to acrylics in favor of the radiance of your own nails. Cheers to healthy, beautiful nails that are completely unique to you!