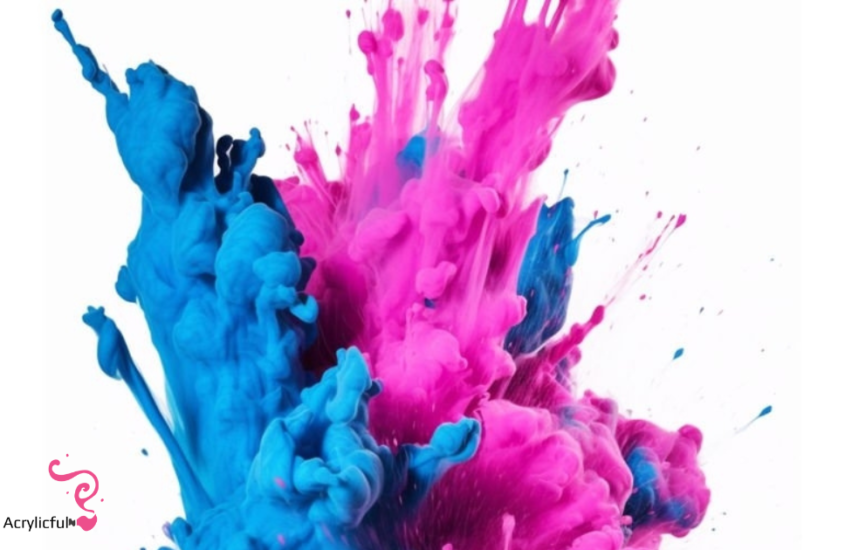
Unleash Your Creativity: How to Make Colored Acrylic Powder
Are you bored with the same old manicure polish hues and want to spice up your nail game? There is no need to look any further! Creating your own colored acrylic powder is a novel method to improve your nail art. It not only opens the door to an infinite number of unique nail designs, but it also lets you to express your creativity like never before.
In this post, we’ll walk you through the steps of making your own colored acrylic powder. Prepare to go on a colorful voyage, whether you’re a seasoned nail artist or a newbie!
What is Colored Acrylic Powder?
Colored acrylic powder is an intriguing and necessary component in the world of nail art. Colored acrylic powder, as opposed to traditional nail polish, which can be restrictive in terms of design and durability, provides nail artists with a varied and long-lasting material to work with.
1. Unparalleled adaptability:
Colored acrylic powder differs from traditional nail paint in important ways, including its unmatched adaptability. It allows nail artists to create elaborate and unique designs by acting as a blank canvas. Whether you want to achieve a classic French manicure, a fashionable ombre look, or eye-catching gradient patterns, colored acrylic powder may help.
2. Long-Lasting Durability:
Another significant advantage of utilizing colored acrylic powder is its excellent durability. Traditional nail polish sometimes breaks, peels, or fades within days of application, necessitating repeated touch-ups. Acrylic powder, on the other hand, is well-known for its durability. It can withstand everyday wear and tear once properly applied and cured without losing its brilliance or integrity. This means you can enjoy your nail art for a lengthy amount of time without having to worry about continuous maintenance.
3. A Closer Examination of the Composition:
Colored acrylic powder is made up of two components: clear acrylic powder and pigments or colorants. The transparent acrylic powder serves as the foundation for nail extensions and patterns, providing the structure and strength necessary. It is also responsible for the completed nail’s transparency or translucent look.
When pigments or colorants are added to clear acrylic powder, the magic happens. These pigments are available in a variety of forms, such as finely ground eyeshadows, mica powders, and specially formulated nail art pigments. They add color, vibrancy, and personality to the clear acrylic powder, which is otherwise neutral. The pigment-to-clear acrylic powder ratio can be adjusted to achieve the desired color intensity, allowing nail artists to create custom shades tailored to the preferences of their clients.
4. The Transformative Process:
When you apply colored acrylic powder to your nails, a transformative process occurs. Nail artists sculpt acrylic powder into the desired shape and design using a liquid monomer as a catalyst. As the acrylic mixture hardens and cures, it becomes extremely durable, resulting in a strong and long-lasting nail enhancement.
The pigments in the colored acrylic powder retain their vibrant colors, resulting in nails that are as vibrant and captivating as the day they were created. Colored acrylic powder is an indispensable tool for both professional nail artists and DIY enthusiasts due to its unique combination of strength and beauty.
5. Endless Opportunities Await:
To summarize, colored acrylic powder has revolutionized the world of nail art. Its adaptability, durability, and customizable nature enable limitless creativity and innovation. Whether you want to express your personal style or offer your clients a dazzling array of nail designs, colored acrylic powder is your ticket to long-lasting nail art.
So, whether you’re new to nail art or a seasoned pro, don’t be afraid to experiment with colored acrylic powder. With this incredible medium at your disposal, your nail creations are only limited by your imagination. Accept the opportunity to improve your nail artistry and open up a world of possibilities. Let colored acrylic powder be your palette and your nails be your canvas.
II. Materials Required
Make sure you have the following materials on hand before you begin mixing and creating your colored acrylic powder:
1. Clear Acrylic Powder: This is the foundation for your colored powder.
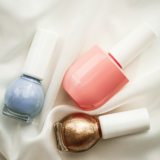
2. Pigments or eyeshadows: These are the colors you’ll be using. You can use any eyeshadow colors you want.
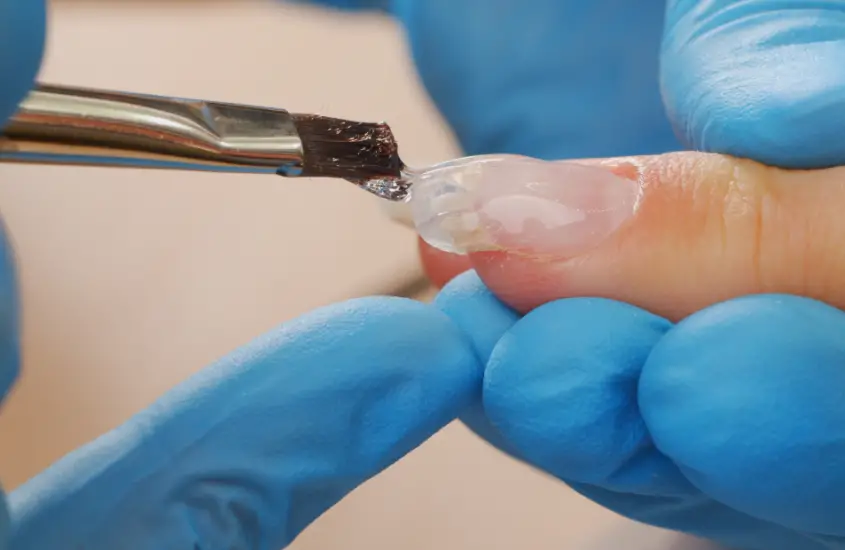
3. Mixing Equipment: A brush, a spatula, and small mixing bowls.
4. Disposable gloves: To protect your hands from pigments and chemicals.
5. Mask: For protection when working with pigments.
6. Sealable Containers: For storing your newly created colored acrylic powders.
Step 1: Choose Your Pigments
Begin by choosing the eyeshadow or pigment shades you want to use. This is where your imagination can shine! It’s up to you whether to go for bright colors like neon pinks and blues or more subtle pastels. For a smoother mixture, make sure the pigments are finely milled.
Step 2: Crush and blend
After you’ve chosen your pigments, crush them into a fine powder. Place the eyeshadows in a small plastic bag and gently crush them with a blunt object to accomplish this. You can also use a mortar and pestle for this step.
Transfer the fine powder to a mixing bowl once it has reached the desired consistency. Add clear acrylic powder to the bowl and thoroughly combine the two. The pigment to clear acrylic powder ratio will determine the intensity of the color, so adjust it to your liking.
Step 3: Perfectly Blend It
To ensure that your powder is well-mixed, blend the pigments and clear acrylic powder with a spatula. Check for any clumps or uneven color distribution. This step is essential for achieving a uniform color throughout your acrylic mixture.
Step 4: Sieve it
Consider sieving your mixture to remove any remaining lumps or impurities for an extra smooth finish. This step is optional, but it can improve the quality of your colored acrylic powder significantly.
Step 5: Test and fine-tune
Test your newly created powder on a nail tip or practice surface before sealing it. This will allow you to see the color in action and make any adjustments to the mixture as needed. Simply add more pigment or clear acrylic powder to achieve a darker or lighter shade.
Step 6: Properly Store
Transfer your colored acrylic powder into sealable containers once you’re satisfied with the color and consistency. For easy identification, label them with the shade name. To keep the quality of your colored powder, keep your containers in a cool, dry place away from direct sunlight.
Tips:
1. Experiment: Don’t be afraid to combine different pigments to create one-of-a-kind colors.
2. Practice: Use your colored acrylic powder on practice nails before applying it to your real nails.
3. Take your time: Don’t give up if you don’t get the perfect color the first time.
4. Tightly Seal Containers: To keep your colored powder from drying out, make sure the containers are tightly sealed.
5. Wear a Mask: It is critical to protect your respiratory system when working with pigments by wearing a mask.
Conclusion
Making your own acrylic powder expands your options for stunning nail art. You can customize your colors to match any occasion, outfit, or mood with just a few simple materials and a dash of creativity.
So, why settle for ordinary nail polish when you can create your own palette of vibrant acrylic powders? Begin your colorful adventure today and let your nail art shine!
Remember that experimentation and practice are the keys to success. You’ll become a master of colored acrylic powder with practice and dedication, transforming your nails into miniature works of art. Say goodbye to dull nails and hello to a rainbow of options!