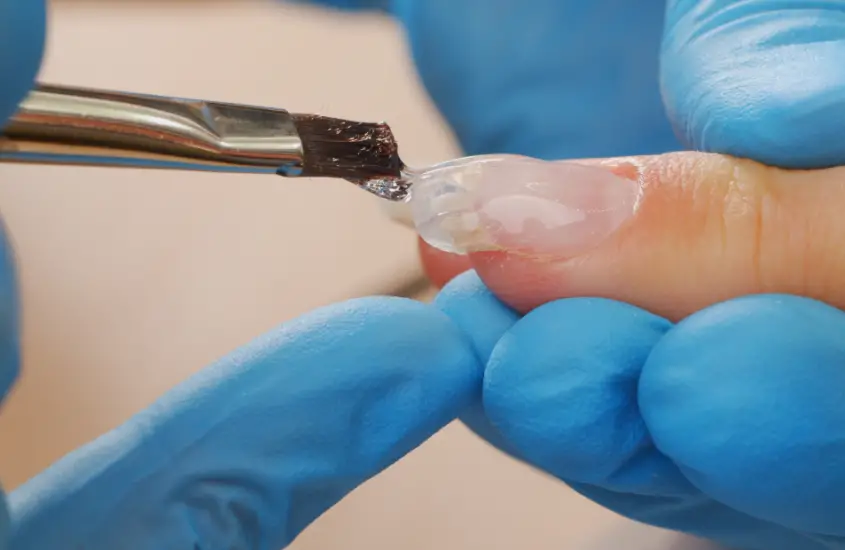
How to Master the Art of Nail Art Brushes?
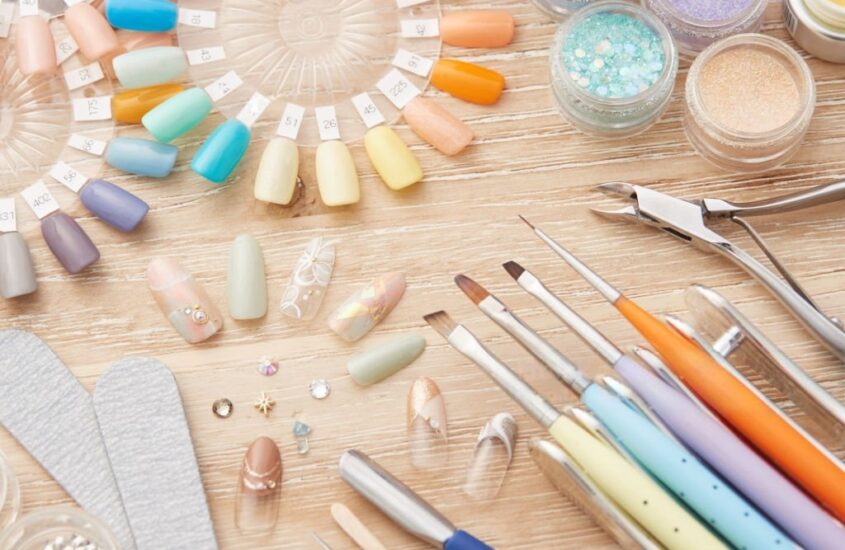
Nail art has become a form of self-expression, allowing individuals to showcase their creativity and style through intricate designs on their nails. One essential tool in this artistic journey is the nail art brush. This guide will take you through the ins and outs of using nail art brushes to elevate your nail game.
1. Choosing the Right Nail Art Brushes
I. Understanding Different Brush Types
Nail art brushes are not one-size-fits-all. They come in various types, each serving a specific purpose in creating stunning designs. Let’s break it down:
1. Detail Brushes for Intricate Designs: These brushes are your go-to for intricate details. Whether you’re crafting delicate flowers or intricate patterns, detail brushes provide the precision you need.
2. Striping Brushes for Fine Lines: If you’re aiming for fine lines or intricate patterns, striping brushes are your best friend. Perfect for creating defined lines and intricate detailing.
3. Fan Brushes for Blending: When it comes to blending colors seamlessly, fan brushes are the champions. They allow for smooth transitions and gradients, adding depth to your nail art.
II. Importance of Brush Quality
1. Synthetic vs. Natural Bristles: Choosing between synthetic and natural bristles is a crucial decision. Synthetic bristles are often preferred for their durability and precision, while natural bristles can offer a softer touch.
2. Handle Types and Grip: The handle of your brush plays a significant role in your control and comfort. Experiment with different handle types to find what works best for you. A comfortable grip ensures steady hands for those intricate designs.
Choosing the right nail art brush is akin to selecting the perfect paintbrush for a masterpiece. Understanding the nuances of each type and the importance of quality will set the foundation for your nail art journey. Armed with this knowledge, you’re ready to elevate your nail art game!
2. Basic Techniques with Nail Art Brushes
I. Proper Brush Handling and Grip
1. Mastering Brush Handling: Before you dive into intricate designs, mastering the basics of brush handling is crucial. Hold the brush like you would a pencil, allowing for controlled and precise movements. Experiment with different grips to find what feels most comfortable for you.
2. Achieving the Right Grip: The right grip is your secret weapon for nail art success. Adjust your grip based on the design you’re creating—tighten it for detailed work and loosen it for broader strokes. A flexible grip ensures versatility in your nail art endeavors.
II. How to Load and Clean Brushes
1. The Significance of a Clean Brush: A clean brush is a happy brush! Before diving into your next masterpiece, ensure your brush is free from any residual polish. A clean brush guarantees true color representation and prevents unwanted color mixing.
2. Quick Cleaning Tips: Quick cleaning between colors is an art in itself. Keep a small jar of nail polish remover or a cleaning solution handy. Dip your brush, gently wipe it on a lint-free cloth, and you’re ready to switch colors seamlessly.
III. Nail Art Brush Strokes
1. Basic Strokes for Different Designs: Nail art is a canvas, and your brush is the paintbrush. Master basic strokes like dots, lines, and swirls. These form the foundation for countless nail art designs, from elegant florals to geometric patterns.
2. Creating Gradients and Ombre Effects: Blend colors effortlessly with your nail art brushes to achieve stunning gradients and ombre effects. Start with a light base color, load your brush with a darker shade, and blend away for a mesmerizing transition.
In the world of nail art, the basics are your building blocks. Mastering proper brush handling, loading, and cleaning lays the groundwork for the intricate designs you’ll create. So, grab your brushes, experiment with different strokes, and let your creativity flow onto your nails!
3. Advanced Nail Art with Brushes
I. Incorporating Multiple Brushes for Complex Designs
1. Layering Techniques: Think of your nail as a canvas with multiple layers. Experiment with layering different colors and textures using various brushes. This adds depth and complexity to your designs.
2. Creating 3D Effects: Transform your nail art into a three-dimensional masterpiece. Utilize different brushes to add layers and textures, making elements of your design pop. Whether it’s floral embellishments or abstract shapes, the third dimension adds a wow factor.
II. Mixing Colors on the Brush
1. Achieving Unique Shades: Become a color magician by mixing shades directly on your brush. This technique allows you to create custom colors that are uniquely yours. Experiment with color combinations to find the perfect palette for your nail art.
2. Blending for Seamless Transitions: Master the art of blending colors seamlessly. Whether it’s transitioning from one color to another or creating a gradient effect, blending with your brushes adds a professional touch to your nail art.
Advanced nail art is all about pushing boundaries and experimenting with different techniques. Incorporating multiple brushes allows you to create intricate and visually stunning designs that stand out. So, unleash your creativity, mix those colors, and let your nails become a canvas for your artistic expression
4. Troubleshooting Common Issues
I. Dealing with Dried Brushes
Tips for Brush Revival
Uh-oh, did your brush dry up on you? Don’t worry, it happens. Here are some quick tips to revive a dried nail art brush:
- Soak in Acetone: Let the bristles soak in acetone for a few minutes. This helps dissolve dried polish.
- Gently Massage: Use your fingers or a gentle brush to massage the bristles. This can help break up the dried polish.
- Condition with Cuticle Oil: Apply a small amount of cuticle oil to the bristles. This not only rehydrates them but also adds a touch of conditioning.
Remember, patience is key. Reviving a dried brush might take some time, but with a bit of TLC, you can bring it back to life.
II. Smudging and Fixing Mistakes
Quick Fixes for Common Errors
Mistakes happen to the best of us. Here’s how to handle smudging and other common errors:
- Quick Dry Drops: Invest in quick-dry drops to accelerate the drying process. Apply a drop to the smudged area and watch it work its magic.
- Clean-Up Brush: Keep a clean-up brush handy. Dip it in nail polish remover and gently erase the smudged area for a polished finish.
- Layering Technique: If a design is smudged, consider turning it into a deliberate part of your design. Add another layer or a complementary color to camouflage the mistake.
Remember, imperfections can turn into unique design elements. Don’t be afraid to get creative with fixing those little mishaps!
5. Inspiration and Trends in Nail Art Brushes
I. Exploring Nail Art Communities for Inspiration
1. Social Media Platforms and Forums: Social media is a treasure trove for nail art enthusiasts. Platforms like Instagram, Pinterest, and TikTok are bustling with creative minds sharing their nail art masterpieces. Join forums dedicated to nail art to connect with fellow enthusiasts, exchange tips, and discover new techniques.
2. Showcasing Your Work: Don’t be shy to showcase your own creations. Share your nail art journey on social media platforms and participate in online communities. You never know who might be inspired by your unique designs.
II. Emerging Trends in Nail Art Designs
1. Seasonal and Thematic Inspirations: Stay in the loop with the latest trends in nail art designs. From seasonal themes like floral patterns for spring to spooky designs for Halloween, incorporating trending elements adds a fresh touch to your nail art.
2. Experimenting with Textures and Finishes: Texture is making waves in the nail art world. Experiment with matte finishes, glossy accents, and even 3D elements. Textured designs not only look visually appealing but also provide a tactile experience.
III. Maintaining Your Nail Art Brushes
Proper Cleaning Routine
The Importance of Regular Cleaning
Maintaining clean brushes is not just about aesthetics; it’s essential for optimal performance. Regularly clean your brushes to prevent color contamination and ensure precise application.
Storage Tips for Longevity
Keeping Brushes in Optimal Condition
Store your brushes upright in a clean, dry container to protect them from damage. Avoid overcrowding to prevent bristle deformation. Your brushes are valuable tools; treat them with care.
6. Maintaining Your Nail Art Brushes
I. The Importance of Regular Cleaning
Keeping your nail art brushes clean is more than just a hygiene practice; it’s a key factor in achieving flawless designs. Regular cleaning prevents color contamination, ensures precise application, and extends the life of your brushes.
Step-by-Step Cleaning Process:
- Immediate Cleaning: Clean your brushes immediately after each use. Dip the bristles into nail polish remover or acetone to dissolve any dried polish.
- Gentle Brushing: Gently brush the bristles against a lint-free cloth or paper towel to remove the dissolved polish. Repeat until the brush is clean.
- Avoid Submerging: While cleaning, avoid submerging the entire brush into the cleaning solution. Submersion can lead to damage, especially to the handle.
- Shape Maintenance: Shape the bristles back into their original form after cleaning. This ensures that your brushes maintain their precision over time.
II. Keeping Brushes in Optimal Condition
Preserving the shape and quality of your brushes requires proper storage. Follow these tips to ensure your brushes stay in optimal condition:
1. Upright Storage: Store your brushes upright in a clean and dry container. This prevents the bristles from bending or fraying, maintaining their integrity.
2. Avoid Overcrowding: Give each brush its space to breathe. Overcrowding can lead to deformation of the bristles and compromise the performance of your brushes.
3. Protection During Travel: If you’re a mobile nail artist, invest in a protective case for your brushes. This shields them from damage during travel and ensures they’re ready for action whenever inspiration strikes.
Conclusion
In the world of nail art, mastering the use of nail art brushes opens up a realm of possibilities. Armed with the right knowledge, techniques, and inspiration, you’re ready to embark on a creative journey that showcases your unique style. Remember, there are no limits—experiment, create, and enjoy the artistry of nail design.
