Mother’s Day Acrylic Painting Ideas: Expressing Love with Art
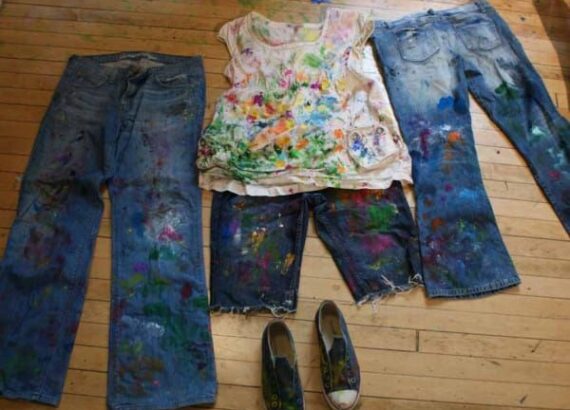
Mother’s Day is almost approaching, and what better way to commemorate the occasion than by making a personal, homemade gift for the wonderful woman in your life? Acrylic painting is a fantastic way to express your passion and creativity. In this post, we’ll look at many ideas and techniques to help you create a one-of-a-kind acrylic masterpiece that will leave a lasting impact on your mother.
Importance of Handmade Gifts
Before we get into the artistic elements, let’s reflect on the significance of handcrafted gifts. Handmade gifts, as opposed to store-bought gifts, provide a personal touch that resonates with emotions. Your mother will surely treasure a painting created with passion beyond any other gift.
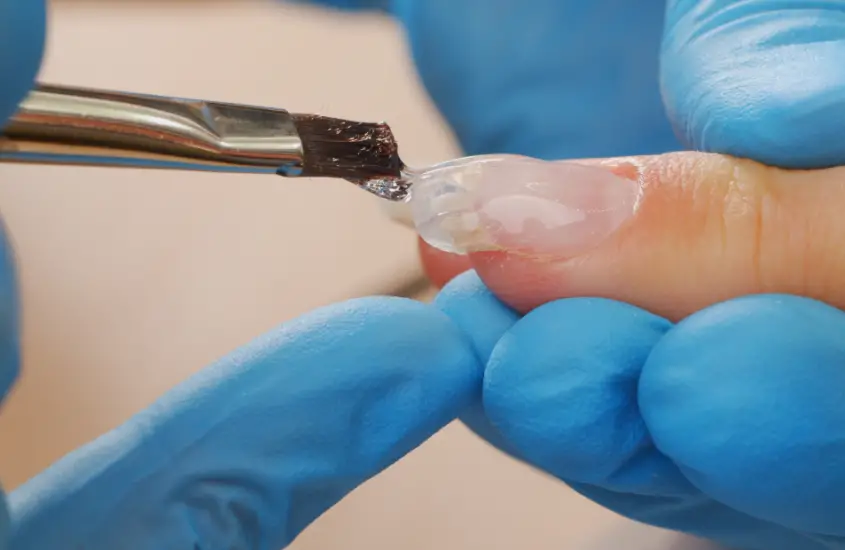
Choosing the Right Acrylic Paints and Supplies
It’s critical to start your painting experience with the correct acrylic paints and supplies. Color brilliance, texture, and drying time are all important considerations. Quality materials play an important role in the overall outcome of your artwork, delivering a long-lasting and visually pleasing finish.
Beginner-Friendly Acrylic Painting Techniques
If you’re new to the world of acrylic painting, fear not! This section will introduce you to some beginner-friendly mother’s day acrylic painting ideas that will make your artistic journey enjoyable and seamless. Let’s dive in:
1. Blending Colors for a Softer Look
Achieving a soft and seamless transition of colors is a fundamental skill in acrylic painting. Here’s a step-by-step guide to help you master the art of blending:
Materials Needed:
Acrylic paints (multiple colors)
Palette Brushes (soft bristle)
Canvas or painting surface
Steps
1. Choose Your Colors: Choose two or more colors to blend together. Begin with complementary hues for a beautiful look.
2. Prepare Your Palette: Squeeze a small amount of each color onto your palette. Leave enough space between them for blending.
3. Mix on Palette: With a clean brush, pick up a small amount of one color. Place it on the palette next to the other color(s). Use a gentle back-and-forth motion to mix the colors slightly.
4. Blend on Canvas: Use short, overlapping strokes to apply the combined color to your canvas. Maintain minimal pressure to allow for easier mixing.
5. Layering: Repeat the process, gently layering and blending the colors until the desired softness is achieved. Take your time and have fun with it.
2. Creating Texture with Palette Knife
Adding texture to your acrylic painting can elevate it from a two-dimensional piece to a visually captivating artwork. The palette knife is an excellent tool for achieving unique textures:
Materials Needed:
- Acrylic paints (various colors)
- Palette
- Palette knife
- Canvas or painting surface
Steps:
1. Choose Your Colors: Select colors that complement your overall painting theme. Consider using contrasting colors for a more dynamic effect.
2. Prepare Your Palette: Squeeze a moderate amount of each color onto the palette, leaving some space for mixing.
3. Apply Colors to Palette Knife: Use the palette knife to pick up the desired colors. Experiment with layering multiple colors on the knife for added interest.
4. Apply to Canvas: Apply the paint-covered palette knife to your canvas. Use a combination of sweeping and dabbing motions to create texture. Don’t be afraid to experiment with different angles and pressure.
5. Layering: Build up layers of textured paint to achieve depth and dimension in your artwork. Allow each layer to dry before adding the next.
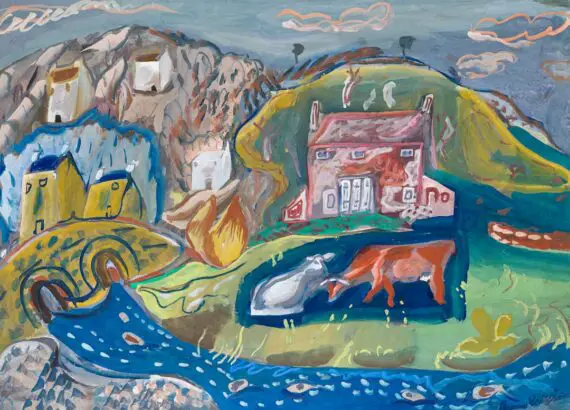
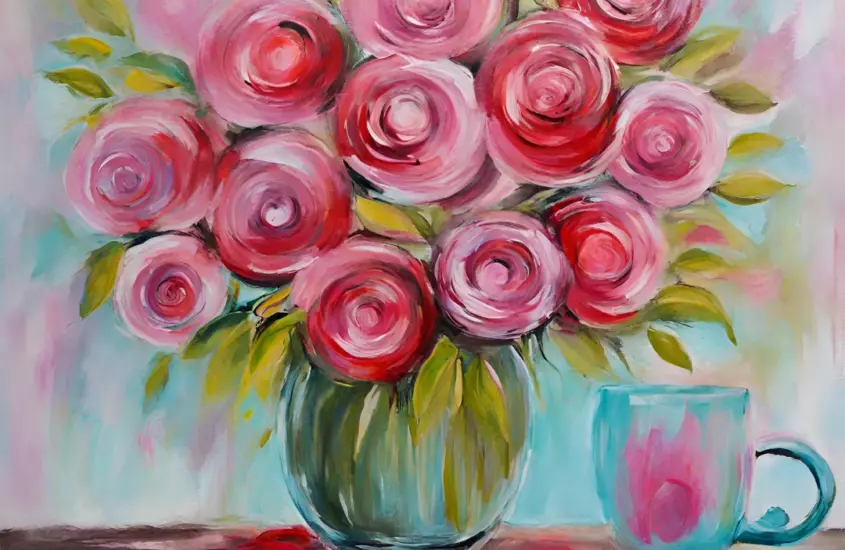
Step-by-Step Guide for a Floral Acrylic Painting
Use this thorough, step-by-step tutorial to get started on a creative adventure and produce a gorgeous acrylic painting of flowers . These methods will walk you through sketching the design, blocking in background colors, adding fine details to flowers, and refining the composition with highlights and shadows—whether you’re an experienced artist or just starting out.
Materials Needed:
- Acrylic paints (assorted colors)
- Variety of paintbrushes (different sizes and shapes)
- Canvas or painting surface
- Palette for mixing colors
- Pencil for sketching
- Water cup and palette for cleaning brushes
1. Outlining the Design:
- Decide on Your Floral Arrangement: Choose the kind of flowers you wish to paint, then arrange them into a visually appealing arrangement. Think about the dimensions and arrangement of your canvas.
- Draw the Basic Shapes: Then, lightly sketch the fundamental forms of your flowers with a pencil. Concentrate on capturing the general proportion and structure.
- Add features: Finish off your sketch by including features like leaves, petals, and stems. At this point, don’t stress about accuracy; the sketch serves as a guide for your painting.
2. Adding Background Color Blocking:
- Select the Colors of the Background: Firstly, select the color scheme that you like for your background. Also, think about using contrasting or complementary hues to bring out the best in your flowers’ vividness.
- Get Your Palette Ready: Then, press the chosen backdrop colors into it and use a range of hues to give your picture depth.
- Apply Base Coat: Cover the entire canvas with a base coat of the background color using a bigger brush. Make sure everything is evenly covered, then allow it to air dry.
- Layering: To add depth, apply more color layers. To create a more dynamic background, try combining colors or adding subtle gradients.
3. Adding Details to Flowers:
- Choose the Colors of the Flowers: For your flowers, pick a color scheme that goes well with the surrounding area. Think about the various tones required for the centers, petals, and leaves.
- Outline Flower Petals: Use the base color to outline your flowers’ petals with a smaller brush. This will act as a template for the details that you add.
- Layering and Blending: Starting with the lightest shades, apply color layers onto the flowers. To create a smooth color blend, dab or stroke the color.
- Define Flower Centers: Embellish your flowers’ centers with details like pistils or stamens. Observe the subtle differences in nature that characterize each blossom.
4. Adding Shadows and Highlights for Improvement
- Determine the Light Source: Ascertain which way your light source is pointing. This will dictate the placement of highlights and shadows.
- Apply Highlights: Apply highlights to the flower sections that receive the greatest amount of light using a little brush. This gives your painting a three-dimensional appearance.
- Create Shadows: Add shadows to spaces with comparatively less light. This gives your floral arrangement more depth and authenticity.
- Fine-Tune Details: Give each detail careful attention and make any necessary corrections. To make sure everything is in harmony, take a step back and evaluate your painting from afar.
Personalize Your Mother’s Day Acrylic Painting Idea with Special Messages
By adding unique notes or dedications, you can elevate your painting. Putting your own stamp on the artwork not only increases its emotive value but also makes it distinctively yours.
Tips for Framing and Displaying Your Artwork
Congratulations on completing your masterpiece! Now, let’s explore some valuable tips for framing and displaying your artwork. Proper framing not only protects your painting but also enhances its visual appeal, turning it into a stunning centerpiece that your mom will proudly showcase.
1. Choose the Right Frame:
- Select a frame that complements the style and theme of your painting. Consider the color, material, and design to enhance the overall aesthetic.
- Opt for a frame that provides proper support and protection for your canvas.
2. Matting Matters:
- If you choose to use a mat, ensure it complements the colors in your painting. A well-chosen mat can add depth and focus to your artwork.
- Matting also helps prevent the glass from touching the surface of the painting, reducing the risk of damage.
3. Consider Glass or Acrylic Glazing:
- Protect your artwork from dust, moisture, and UV rays by using glass or acrylic glazing.
- Choose non-reflective or UV-protective glass to minimize glare and preserve the vibrancy of your colors.
4. Proper Mounting:
- If your painting is on paper, mount it using acid-free materials to prevent yellowing and deterioration over time.
- Ensure your artwork is secured within the frame to prevent shifting or sagging.
5. Frame Size and Proportion:
- The frame size should complement the dimensions of your artwork. Avoid frames that overpower or distract from the main focus.
- Maintain a balanced proportion between the frame, matting (if used), and the artwork itself.
6. Consistent Style:
- If you plan to display multiple artworks together, maintain a consistent framing style to create a cohesive and harmonious gallery wall.
- Consistency in framing allows each piece to contribute to an overall aesthetic.
7. Proper Hanging:
- Hang your artwork at eye level to ensure it’s easily appreciated. Consider the average eye level for the space where it will be displayed.
- Use appropriate hanging hardware, considering the weight and size of your artwork.
8. Protect from Sunlight:
- Avoid placing your artwork in direct sunlight to prevent fading and deterioration. Consider using curtains or UV-filtering glass for added protection.
9. Rotate and Refresh:
- Periodically rotate your artwork to prevent prolonged exposure to light and dust on one side.
- Refresh the display by swapping out artworks or adding new pieces to keep the arrangement dynamic.
10. Gallery Lighting:
- Lastly, illuminate your artwork with proper gallery lighting to enhance its visibility. Use track lighting or picture lights for focused illumination.
- Ensure the lighting is not too harsh or too dim, finding a balance that highlights your artwork’s details.
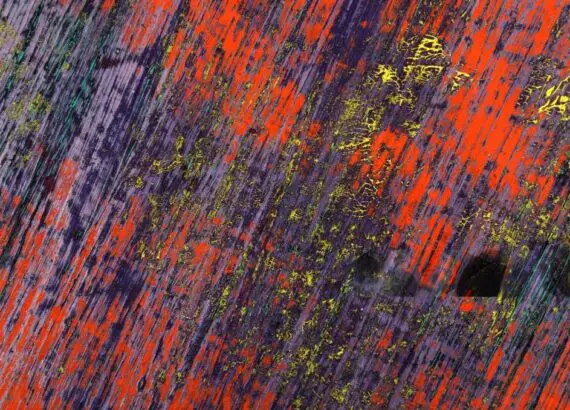
Investigating Concepts for Abstract Acrylic Paintings
If you’re looking for something more modern, consider these abstract acrylic painting ideas. Create fascinating and visually arresting abstract art by experimenting with drip painting techniques and expressive brushstrokes.
Honoring Motherhood with Art
Explore the idea of using art to honor mothers. Also, think about using your paintings to convey the love, tenacity, and resilience of mothers. Let your artistic expression serve as an homage to the amazing women who have shaped our lives.
The Healing Properties of Acrylic Paintings
Acrylic painting has therapeutic benefits in addition to creative ones. Examine the ways in which the creative process can serve as a therapeutic outlet for relaxation and stress alleviation as well as a means of self-expression.
Posting Your Works on Social Networks
Sharing your works on social media may be a fulfilling experience in this era of digital technology. Make connections with other artists, find inspiration, and present your creative process. The endearing response from your mother may encourage others to embrace their own talents.
Typical Errors to Steer Clear of
While painting, keep an eye out for frequent mistakes to avoid. Ignoring drying times, overmixing colors, or omitting important steps—all of these mistakes can be avoided, and learning from them will help you become a better artist.
Motivational Sayings Regarding Motherhood and Art
Take courage from these inspiring sayings about parenthood and the arts. Allow other people’s wisdom to inspire you and give your artwork a deeper level of meaning.
Getting in Touch with People in the Art Community
Moreover, getting involved in the art world may be quite fulfilling. Make connections with other artists, exchange stories, and gain knowledge from each other. A community of support enhances the enjoyment of the artistic growth journey.
Conclusion
To sum up, a lovingly created acrylic painting is an incredibly sentimental mother’s day acrylic painting ideas. No matter if you go for an abstract expression or a realistic floral motif, the work and consideration that go into making art will definitely be valued. Create a one-of-a-kind creation that embodies your love and creativity to commemorate the bond of motherhood.